Raspberry Pi に公式タッチ画面が出る
Raspberry Pi gets an official touchscreen display

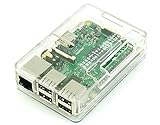
Raspberry Pi2 Model B ボード&ケースセット (Standard, Clear)
posted with amazlet at 15.09.08
TechShare
売り上げランキング: 263
売り上げランキング: 263
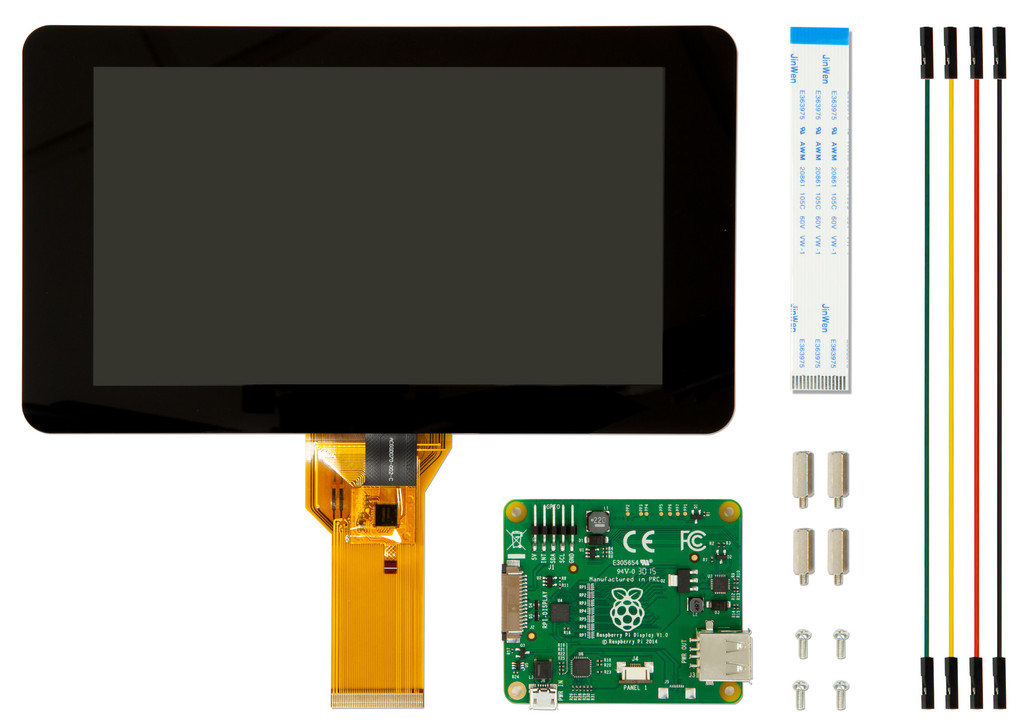
Although it's pretty easy to hook up a Raspberry Pi to a screen using its HDMI port, it's not exactly the most portable of solutions (especially if there isn't a TV or monitor around). The Raspberry Pi Foundation recognized this, so it set about finding a "simple, embeddable display" capable of giving Pi owners a screen from which to work from, but that also embodies the DIY spirit of the board that it connects to. It's taken almost a year, but the official Raspberry Pi touch display has gone on sale today, offering tinkerers a 7-inch capacitive 800 x 480 touchscreen display that supports 10-finger touch.
HDMIポートを使って、ラズベリーパイに画面を接続するのはとても簡単ですが、それが必ずしも一番手軽な解決法ではありません(特に、テレビやモニターが周りに無い場合には)。 ラズベリーパイファウンデーションは、これを認識しました。ですから、ラズパイオーナーに、その接続ボードのDIYスピリッツをそのまま現す作業用の画面を与える「シンプルで組込み可能なディスプレイ」を見つけられることについて設定しました。 大体一年ほどかかりますが、公式のラズベリーパイのタッチ画面が、本日販売開始されました。10点タッチ可能な、7インチの800×480タッチスクリーン画面を提供します。
As you'd expect, connecting the display to the Pi requires a steady hand and a little patience -- it's not as easy as plugging in two ends of an HDMI cable (but that's all part of the charm, right?). You can choose to power it via the Pi's GPIO port or by plugging a microUSB power supply into the display board, while a ribbon cable connects to the Pi's DSI port. The Raspberry Pi Foundation has ensured that both the display board and the Pi itself can be mounted on the back of the display (as shown in the image above), making it a lot easier to connect the various cables and also to store.
ご存知のように、ラズパイに画面をつなぐのは、震えない手と少しばかりの忍耐が必要でした。HDMIケーブルの2つの端を差し込むのは、それほど簡単なことではありません(でも、それも魅力のひとつでしょ?)。 ラズパイの DSI ポートへリボンケーブルを接続している間、電源は、ラズパイのGPIOポートから取るか、マイクロUSBでディスプレイボードへ接続して供給するかを選べるようになっています。 ラズベリーパイファウンデーションは、このディスプレイボードとラズパイ自身を、(上の画像のように)この画面の裏に搭載できるようにし、また、いろんなケーブルをとても簡単に接続できて、格納できるようにもしています。
- steady hand - 震えない手
- patience - 忍耐
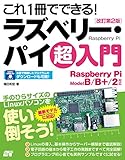
これ1冊でできる!ラズベリー・パイ 超入門 改訂第2版 Raspberry Pi Model B/B+/2対応
posted with amazlet at 15.09.08
As it turns out, the Raspberry Pi isn't the only maker board getting an official display. DIY computer kit Kano, a project that has been embraced by schools, has opened pre-orders for a 10.1-inch HD (150 PPI) LCD screen that also requires you to build it yourself. The case's design also allows you to store the Kano's keyboard and a third-party battery inside, making it truly portable.
結局のところ、このラズベリーパイが、公式の画面を手に入れる唯一のメーカーボードではありません。学校が受け入れてきたDIYコンピューターキット Kanoのプロジェクトが、自身で組み立てる必要のある、10.1インチのHD(1インチ当たり150ピクセル)液晶スクリーンの事前注文を受け付け開始しました。 そのケースのデザインは、Kanoのキーボードとサードパーティのバッテリーを内部に格納できるようになっていて、まさにポータブルになっています。
The official Raspberry Pi display is available to buy at all the usual Raspberry Pi stockists starting from $60 (£48). There's also six different colored frames to choose from, but you'll pay a little extra for the privilege. If you're new to the Kano, the kit and the display bundle will cost $250 (£200) or $110 (£90) for the screen on its own.
この公式のラズベリーパイのディスプレイは、全ての通常のラズベリーパイの仕入れ業者から、60ドル(48ポンド、約7200円)で購入可能です。 フレームは6つの別の色から選べます。しかし、その特権のためには少し追加で支払うことになるでしょう。 もし、Kanoについて初めてなら、そのキットとディスプレイバンドルは、250ドル(200ポンド、約3万円)か110ドル(90ポンド、約1万3千円)になります。
- stockists - 仕入れ業者

クリッパー エコ ティーバッグ ラズベリーリーフティー 20P
posted with amazlet at 15.09.08
クリッパー
売り上げランキング: 414
売り上げランキング: 414
元記事は以下からどうぞ。